

Radeon PCIE 2.0 MOD
The mod applies to HD 3xxx/4xxx/5xxx/6xxx series cards that have a CrossFire connector!
To perform this modification, you will need:
- A bridge or just the Crossfire connector
- A female SATA connector (like the ones used in drives/fan controllers)
- A 1k Ohm resistor or a potentiometer that can be set to 1k Ohm
Locate the second pin on your card (marked in the photo) of the Crossfire connector – if there are two connectors, use the one farther from the VIDEO outputs.
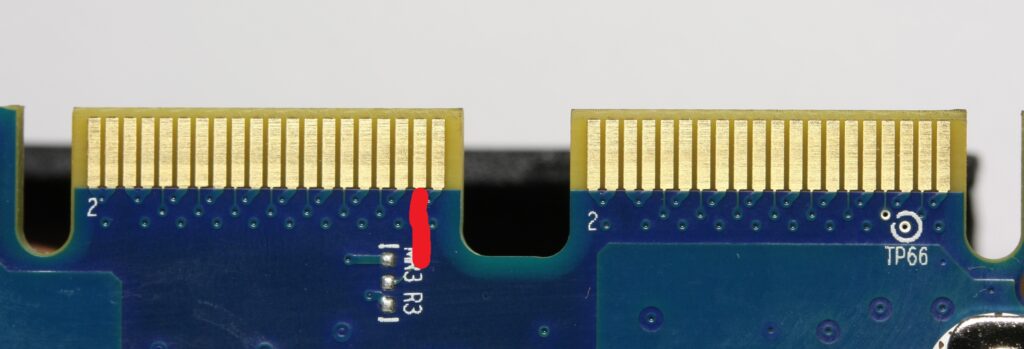
IMPORTANT! – It must be a pin on the back side of the PCB (reverse side)
Once the pin is located, proceed to modify the bridge itself. It’s best to cut it so that only the Crossfire connector remains. Do not cut the protruding part of the bridge – it helps with orientation so you don’t mix up the pins! Then, place the remaining connector onto the card connector and identify the pin on the cut connector to know where to solder. Solder a wire to this pin on the cut connector.
Next, attach the SATA connector on top of your connector. Find the pin responsible for 3.3V and solder the 1k Ohm resistor (or potentiometer) to it, along with the wire that was previously soldered to the second pin.
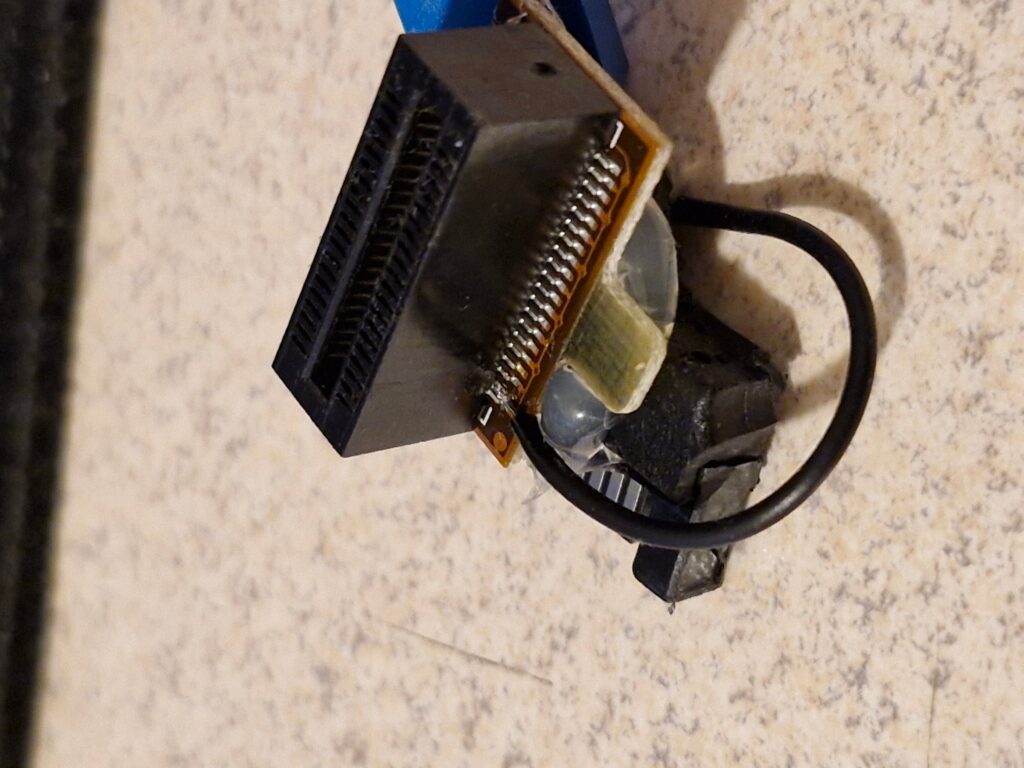
The mod is now complete 🙂 Before plugging in the SATA power connector, make sure that the soldered pin aligns with the corresponding pin on the card PCB! The protruding part of the connector helps prevent mistakes when connecting the mod.